2022-06-09
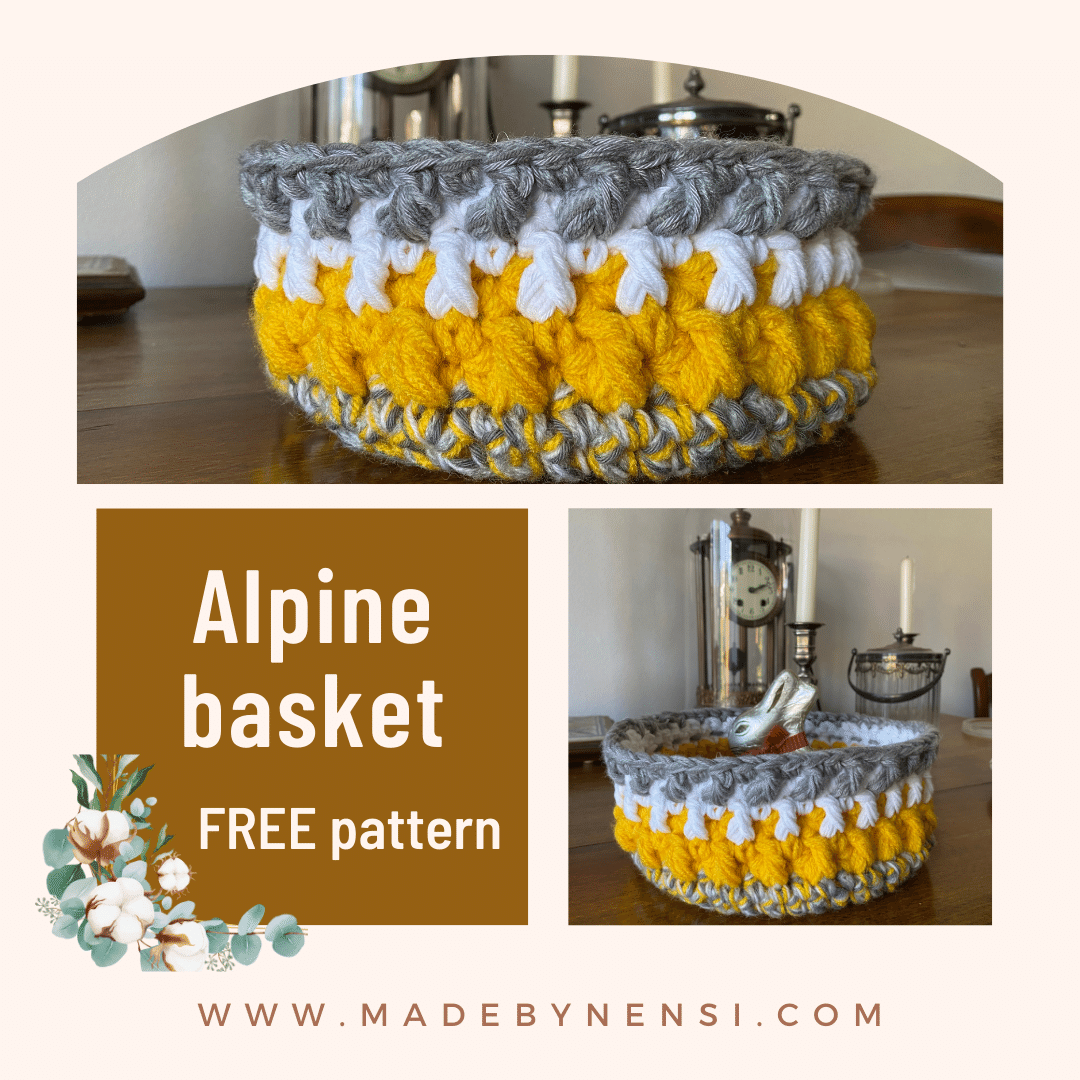
Alpine Basket -Perfect scrap yarn pattern- FREE PATTERN

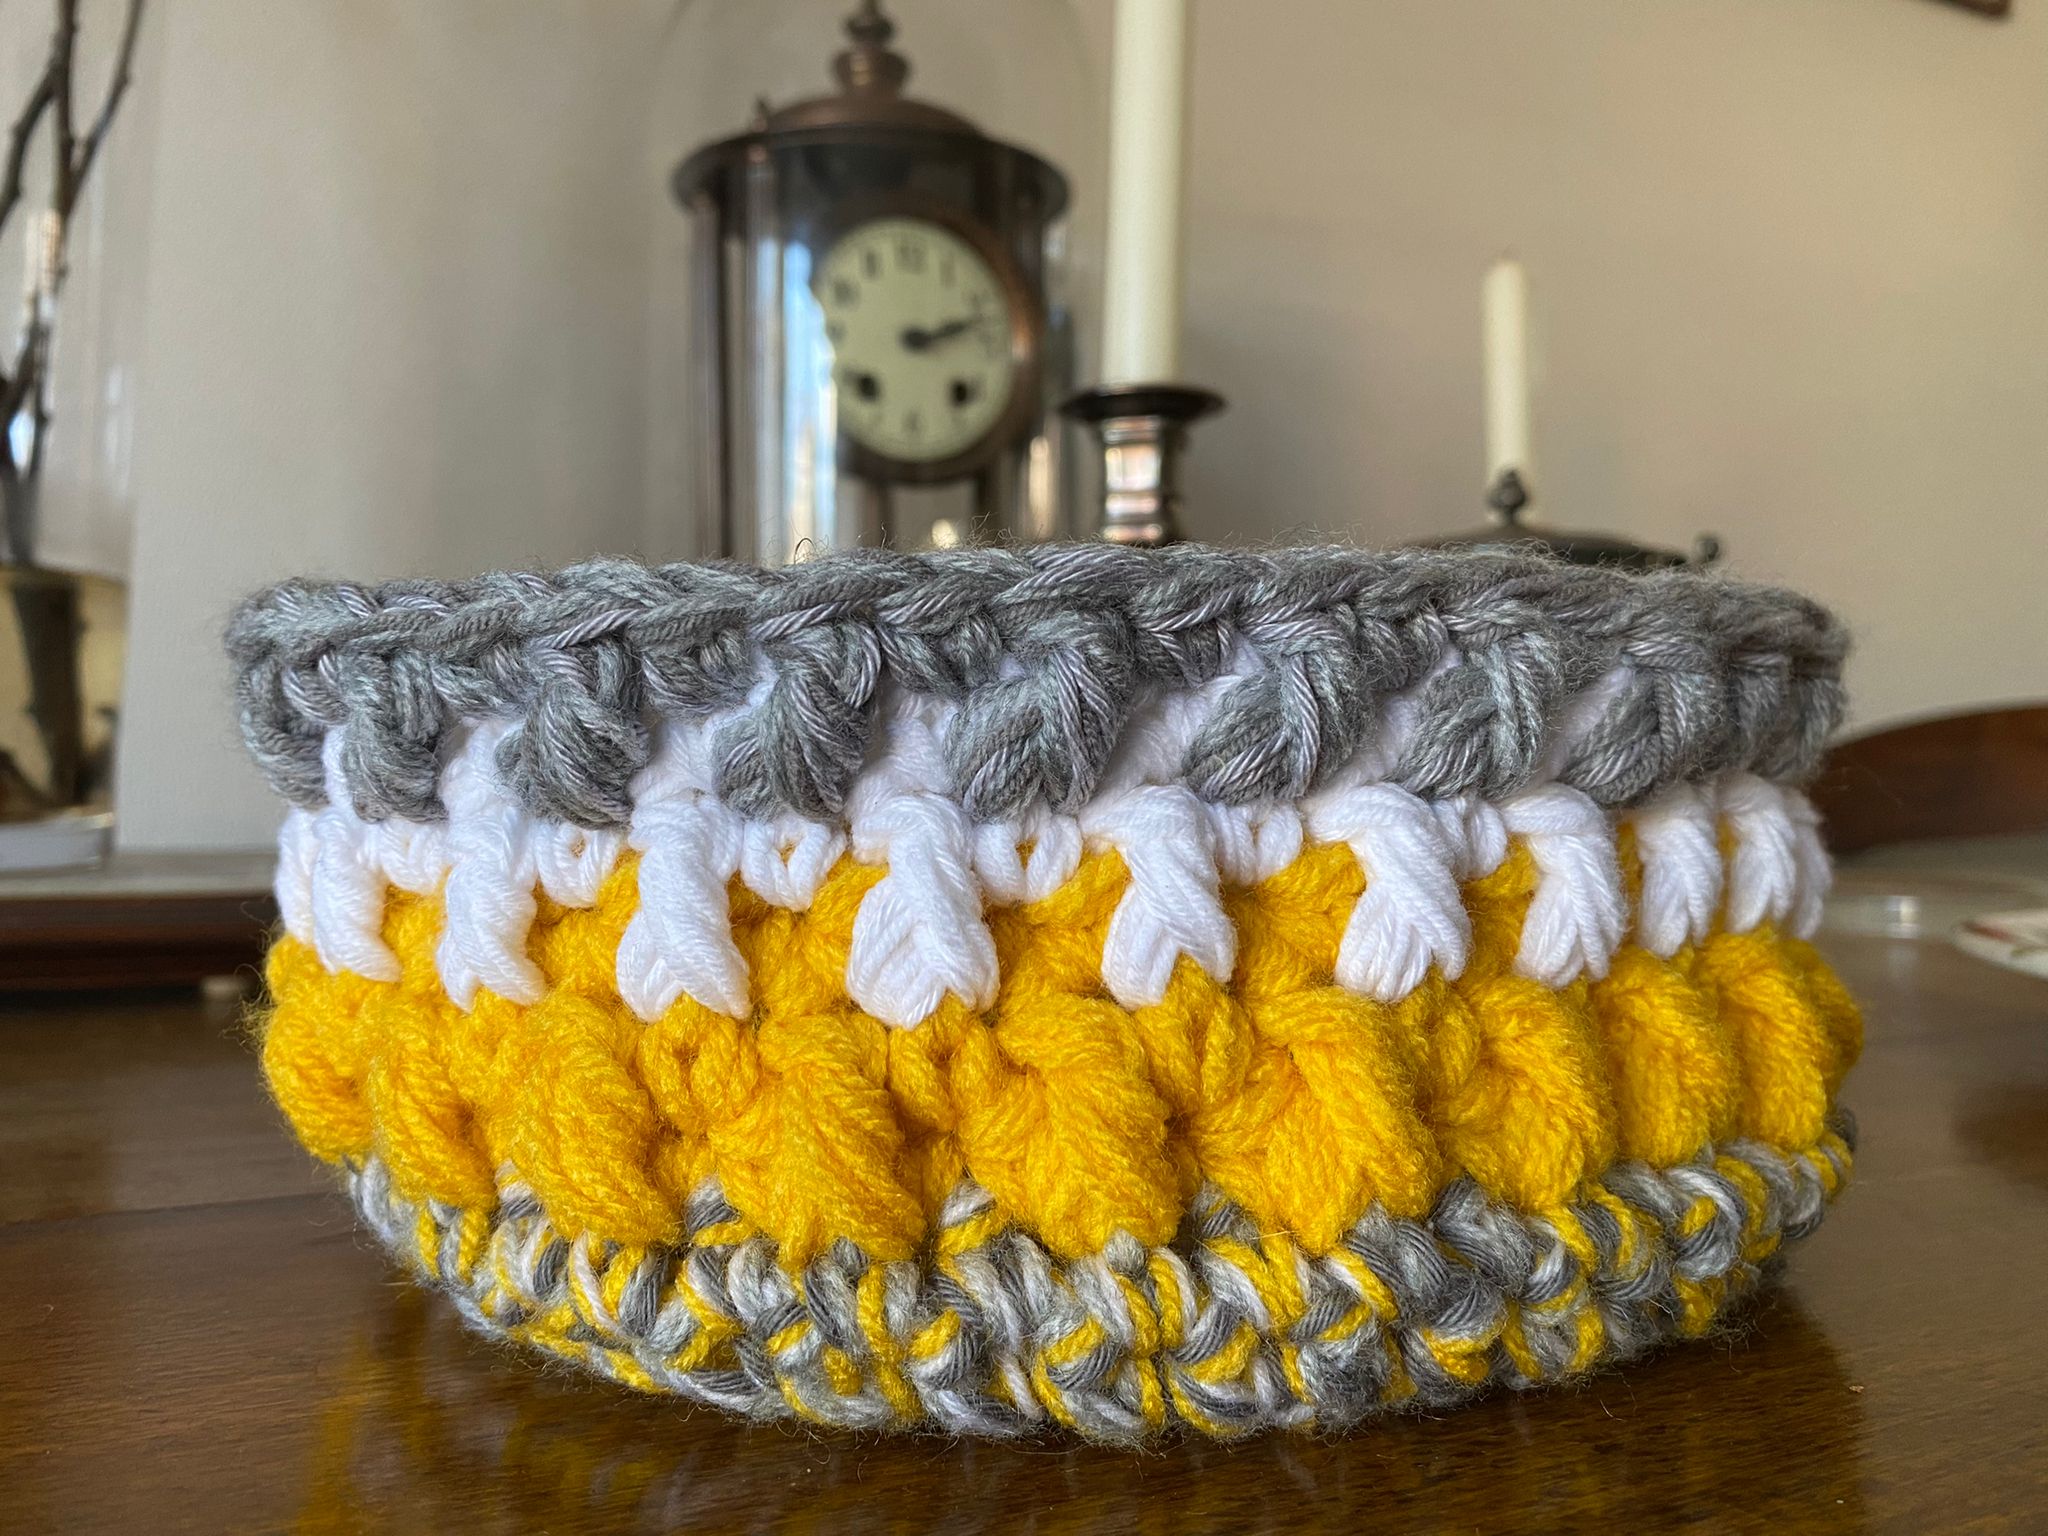
The Alpine Basket came as an idea of how to combine something useful to have and scrap yarn we all have hiding somewhere. I needed a basket for the Easter eggs so I chose colors I associated with it and luckily had in my scrap yarn box.
Materials
Yarn: I used yarns aimed at hooks 3-4 mm and I used 5 strands (yellow, white, light grey and darker grey). I wouldn’t recommend going with thinner yarn unless you have plenty of it so you can go with 7-8 strands, and if you’re going with bulky yarn about 3-4 is good enough. If you start and after few rows think the thickness of the item is too thin, please do frog and add more yarn strands.
Hook: 7mm or depending on the yarn you choose; your stitches need to be tight but not too tight not to be able to have a nice shape that is not flat.
Needle
Scissors
Important
Pattern is done in round with joining the ends of rounds with slip stitch (sl st is not counted as st).
Sizing depends on the yarn you use. If you continue with making your base bigger you will not follow the stitch count I give here as an example, but you will adjust to a higher count, as long as you keep in mind it is a 2 stitch repeat, so you have to have an even number of stitches once you go from base to the sides.
Every time you start a new row the instructions will say sc or dc, for rounds starting with sc instead of sc you start with ch1 and the ones starting with dc will actually start with ch3, both these ch1 or ch3 will be seen as a sc or dc stitch and counted in the summary of stitches at end of each round.
Abbreviations
In US terms
MC- magic circle
Ch-chain
Sc- single crochet
Dc- double crochet
Sl st-slip stitch
FPdc- front post double crochet
2Dc means two dc in the same stitch
Dc2 means dc in each of next two stitches
Instructions
MC
Round 1
Dc15, sl st (15st)
Round 2
2Dc in each st, sl st (30st)
Round 3
*Dc2, 2dc*, repeat between *and* 9 more times, sl st (40st)
Round 4
*2Dc, dc2*, repeat between *and* 13 more times, sl st (56st)
Round 5
In this row I continue with 5 strands of the same color (one of the three main colors)
Sc all around, sl st (56st)
Round 6
*Sc, FPdc (in the sc from round 5)*, repeat between *and* 27 more times, sl st (56st)
Round 7
In this row I continue with 5 strands of the same color (one of the three main colors)
Sc all around, sl st (56st)
Round 8
In this row the FPdc is into the sc from round 7 which is in between the FPdc’s from round 6, basically alternating them for the visual look of Alpine stitch.
*FPdc (in the sc from round 7), sc*, repeat between *and* 27 more times, sl st (56st)
Round 9
In this row I continue with 5 strands of the same color (one of the three main colors)
Sc all around, sl st (56st)
Round 10
Like before, in this row the FPdc is into the sc from round 9 which is in between the FPdc’s from round 8, basically alternating them for the visual look of Alpine stitch.
*Sc, FPdc (in the sc from round 9)*, repeat between *and* 27 more times, sl st (56st)

Now that you are done with making the item, I’d love to see your creation if you’re willing to share! You can find me on Pinterest (Made By Nensi), Facebook (Made By Nensi), Instagram (made_by_nensi) or my blog MadeByNensi. If you tag me in your post, I will show off your work by featuring it in my stories and/or posts). You can also subscribe to my mailing list on my blog and receive discounts for any new pattern and will be able to read up on how it was created and as well read up on all new things I am working on in that moment…
Liking my pattern, my store or any of my media will of course be very much appreciated and will help me very much!
COPYRIGHT: You MAY NOT in any form reproduce or distribute this pattern in part or in whole through any venue, electronic, mechanical or otherwise without the written authorization of the publisher. Also, any use of my photos is not permitted.
You are granted permission to sell the finished product for profit. Please refer back to me as the patterns author with a link to my shop or website!
Admin - 23:06:12
|
Add a comment

